Making yogurt at home has a number of benefits. One of the main benefits is that it allows you to control the ingredients and the amount of sugar and preservatives that are added to the yogurt. This can be especially important for people with dietary restrictions or who are trying to eat a healthier diet. Additionally, homemade yogurt is often less expensive than store-bought yogurt, and it can be a fun and rewarding kitchen project. Making yogurt at home also allows you to experiment with different flavors, cultures and textures, and you can customize it according to your taste. Furthermore, yogurt has many benefits for the body, it is a good source of protein, calcium, and probiotics, which can aid in digestion and boost the immune system.
Are you ready to discover the delicious and healthy benefits of homemade yogurt? Learn how easy it is to make your own yogurt in the comfort of your own home with just a few simple ingredients and equipment. From cow’s milk to non-dairy alternatives, the options are endless. Say goodbye to preservatives and high sugar content and hello to a delicious and nutritious yogurt that you can customize to your taste. Keep reading to learn how to make yogurt at home and discover the world of yogurt-making possibilities.
Table of Contents
Overview of the basic ingredients and equipment needed
The basic ingredients for making yogurt at home include milk and yogurt culture. The milk can be any kind of milk, such as cow’s milk, goat’s milk, or even non-dairy milk like almond milk or soy milk. The yogurt culture can be store-bought or homemade. Store-bought cultures can be purchased in the form of powdered or liquid cultures, while homemade cultures can be made using a small amount of store-bought yogurt as a starter.

Looking for the best yogurt makers? checkout The 10 Best Yogurt Makers
The equipment needed to make yogurt at home includes:
- A large pot for heating the milk
- A thermometer for monitoring the temperature of the milk
- A spoon for stirring the milk
- Jars or containers for incubating the yogurt
- A strainer or cheesecloth for straining the yogurt (if desired)
Some optional equipment that can be used to make yogurt at home include:
- A yogurt maker, which can be used to incubate the yogurt and maintain a consistent temperature.
- A heating pad, which can be used to incubate the yogurt if you don’t have a yogurt maker
- A food thermometer with a probe which you can use to monitor the temperature while heating the milk
It’s important to note that many of these items can be substituted with household items, for example, a large pot can be substituted with a slow cooker, and a thermometer can be replaced with a candy thermometer or a kitchen thermometer.
How to make yogurt at home - Step-by-Step Instructions
Follow the step-by-step process to make the most delicious yogurt at home.
Step 1: Preparing the Milk
- Choose the type of milk you want to use. Whole milk will produce a creamier yogurt than low-fat milk.
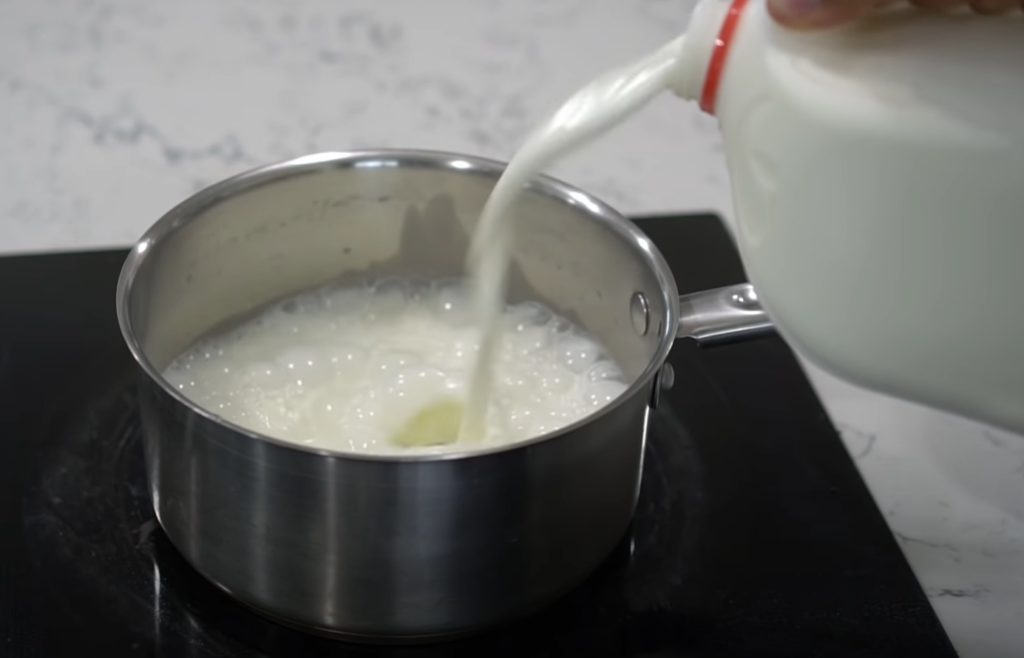
- Pour the milk into a large pot and heat it to 185°F (85°C) over medium-high heat. This temperature is important because it will kill any bacteria that might be present in the milk and create a consistent environment for the yogurt culture to thrive.
- Once the milk reaches 185°F, remove it from the heat and let it cool to 110-115°F (43-46°C). This is the ideal temperature for adding the culture.
Step 2: Adding the Culture
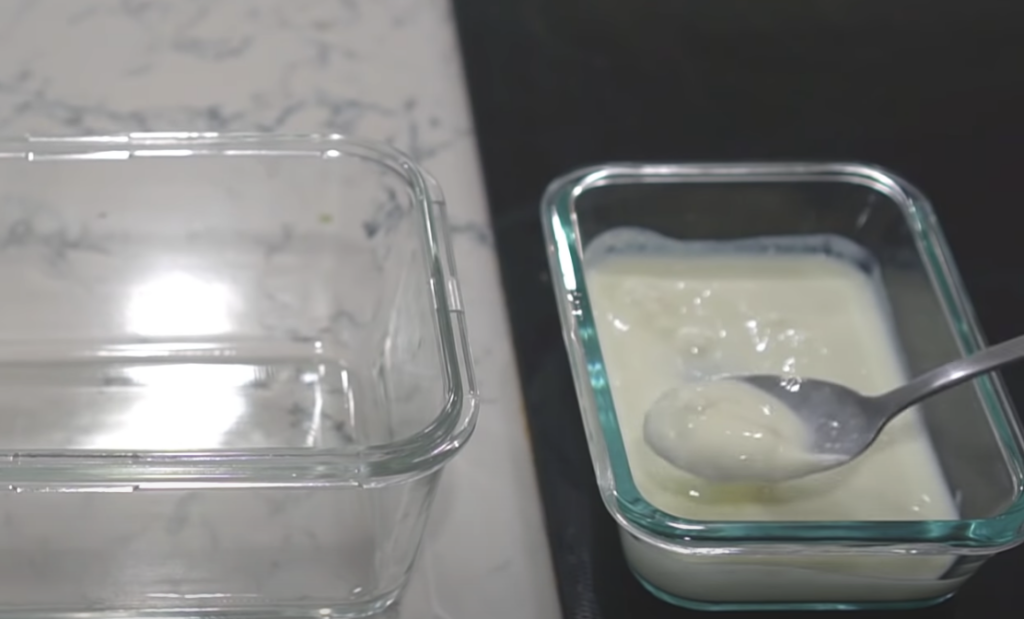
- While the milk is cooling, take a small amount of store-bought yogurt or culture and mix it in a small bowl.
- Once the milk has cooled to the desired temperature, gently mix in the yogurt culture using a spoon.
Step 3: Incubating the Yogurt
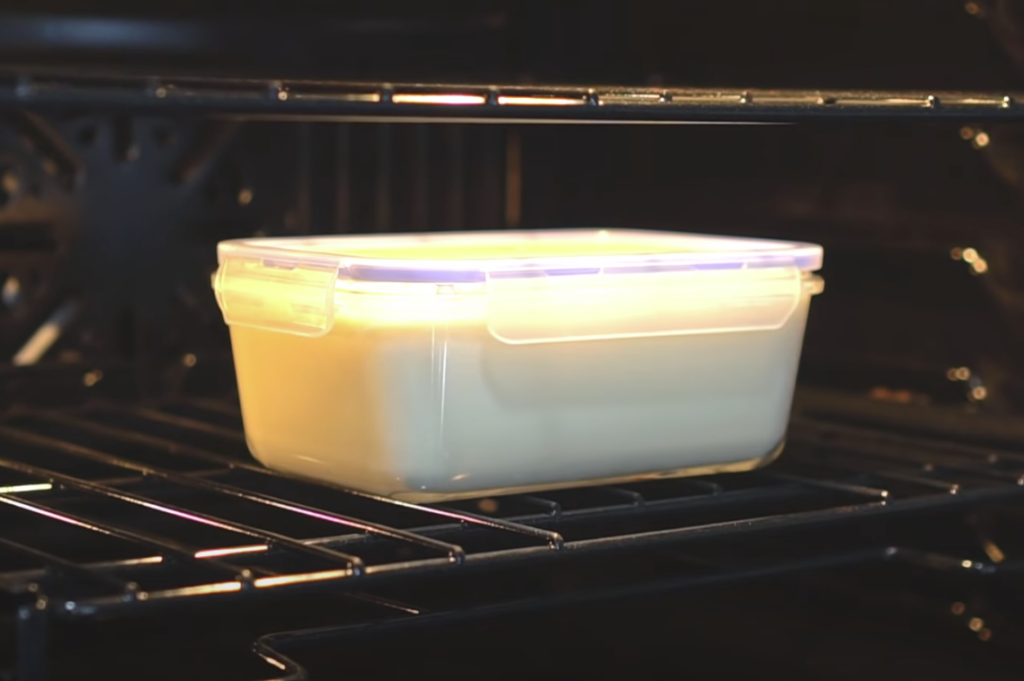
- Pour the milk and culture mixture into jars or containers, and place them in a warm location to incubate. The temperature should be between 110-115°F (43-46°C) during the incubation period.
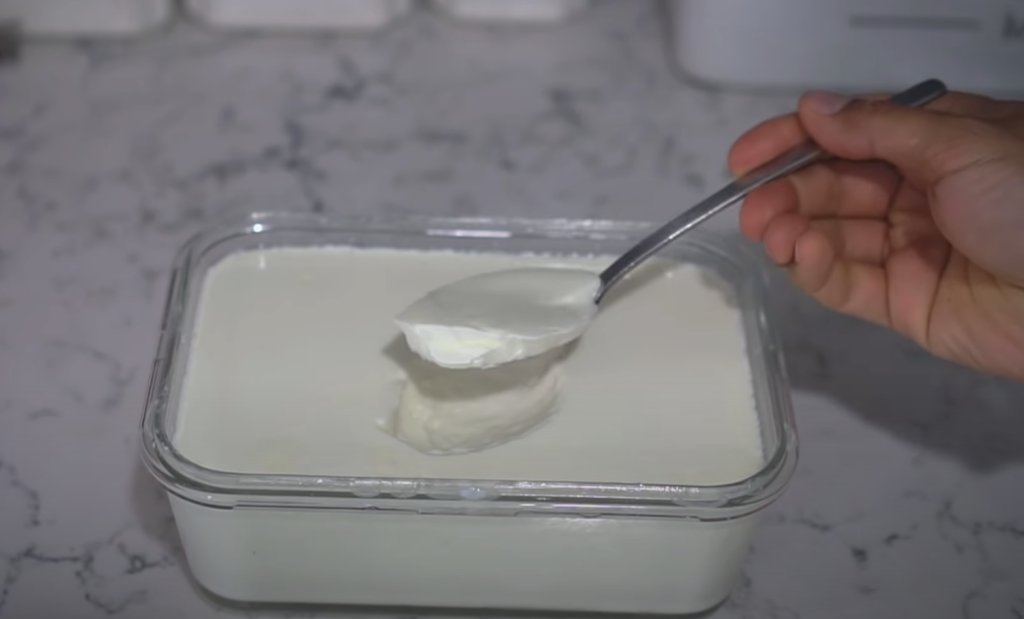
- Incubate the yogurt for 6-8 hours or until it reaches your desired consistency.
Step 4: Straining and Storing the Yogurt
- If you prefer a thicker consistency, strain the yogurt through a strainer or cheesecloth.
- Place the yogurt in the refrigerator to cool. The yogurt will thicken further as it cools.
- Store the yogurt in an airtight container for up to 2 weeks.
Note: You can use a yogurt maker or a heating pad as an alternative method to maintain the temperature during the incubation period. You can also use a thermometer with a probe to monitor the temperature while heating the milk.
By following these steps, you will have a delicious and nutritious homemade yogurt that you can enjoy as a healthy breakfast, as a snack, or even as an ingredient in cooking.
Variations and Flavorings
Once you’ve mastered the basic recipe for making yogurt at home, you can experiment with variations and flavorings to make it even more delicious. Here are a few ideas:
Fruits and sweeteners: Mix in fresh or frozen fruits, such as berries, peaches, or mango, or add a natural sweetener like honey or maple syrup before incubating the yogurt.
Savory yogurt dips: Mix in herbs and spices, such as dill, mint, or cumin, to make savory yogurt dips for pita chips or vegetables.
Different cultures: Experiment with different cultures, such as Greek yogurt cultures or kefir cultures, to create different textures and flavors.
Flavored syrups: After straining the yogurt, you can add some syrups or extract like vanilla, almond, or chocolate.
Yogurt Popsicles: Mix in some fruit puree or syrups and pour the mixture into popsicle molds, freeze them and enjoy a healthy yogurt popsicle.
These are just a few ideas, but the possibilities are endless. Feel free to get creative and come up with your own unique flavor combinations. The key is to have fun and enjoy the process of making your own yogurt.
Additional resources and tips for success
Here are some additional resources and tips to help you make the most of your yogurt-making experience:
Research different types of milk: Different types of milk will yield different results in terms of texture and flavor. Experiment with cow’s milk, goat’s milk, or even non-dairy milk to find the one that you like best.
Look for a good quality culture: A good quality culture is essential to the success of your yogurt-making. Look for a culture that is specifically formulated for yogurt making, and make sure it is fresh.
Keep good notes: Keep a journal or notes of your yogurt-making process, including the type of milk, culture, incubation time and temperature, and any variations or flavorings you try. This will help you to replicate successful batches and troubleshoot any problems that arise.
Join a yogurt-making community: Join online communities or forums dedicated to yogurt making. This is a great way to connect with other yogurt makers, share tips and tricks, and get inspiration for new flavor combinations.
Experiment with different incubation methods: Try different methods for incubating your yogurt, such as using a yogurt maker, a heating pad, or even a dehydrator. This will help you find the method that works best for you and your kitchen.
Take a class or workshop: If you’re interested in learning more about yogurt making, consider taking a class or workshop. This will give you the opportunity to learn from experienced yogurt makers and get hands-on experience making yogurt.
By following these tips and resources, you’ll be well on your way to making delicious and nutritious yogurt at home. Happy yogurt making!
Simple and delicious yogurt recipes
Here are a few simple and delicious yogurt recipes to try at home:
Vanilla Yogurt: Mix in 1 tsp of vanilla extract or vanilla bean paste and 1-2 tbsp of honey or maple syrup before incubating the yogurt.
Fruit Yogurt: Mix in 1 cup of fresh or frozen fruit, such as berries, peaches, or mango, and 1-2 tbsp of honey or maple syrup before incubating the yogurt.
Greek Yogurt: After incubating the yogurt, strain it through a strainer or cheesecloth for 2-3 hours to remove the whey and create a thicker consistency.
Honey Yogurt: Mix in 1/4 cup of honey before incubating the yogurt.
Chocolate Yogurt: Mix in 2-3 tbsp of cocoa powder and 1-2 tbsp of honey or maple syrup before incubating the yogurt.
Yogurt Popsicles: Mix in 1/2 cup of fruit puree or syrup and pour the mixture into popsicle molds, freeze them and enjoy a healthy yogurt popsicle.
Cucumber-Dill Yogurt: Mix in 1/2 cup of finely chopped cucumber, 1 tbsp of chopped fresh dill, and 1/4 tsp of salt before incubating the yogurt.
Strawberry-Basil Yogurt: Mix in 1/2 cup of finely chopped strawberries, 1 tbsp of chopped fresh basil leaves, and 1-2 tbsp of honey or maple syrup before incubating the yogurt.
These are just a few examples, but the possibilities are endless. Feel free to get creative and come up with your own unique flavor combinations. The key is to have fun and enjoy the process of making your own yogurt.
Troubleshooting common issues
Making yogurt at home can be a fun and rewarding experience, but it can also present some challenges. Here are some common issues that you may encounter and some tips for troubleshooting them:
Runny yogurt: If your yogurt is runny, it’s likely that the milk wasn’t heated to the correct temperature, or that the culture wasn’t added at the right time. Make sure to heat the milk to 185°F (85°C) and let it cool to 110-115°F (43-46°C) before adding the culture.
Sour yogurt: If your yogurt is too sour, it’s likely that the culture was overactive or that the yogurt was incubated for too long. Try using a smaller amount of culture or reducing the incubation time.
Inconsistent texture: If your yogurt has an inconsistent texture, it’s likely that the temperature wasn’t consistent during the incubation period. Make sure to use a thermometer to monitor the temperature and to keep it between 110-115°F (43-46°C).
Failure to set: If your yogurt doesn’t set, it’s likely that the milk wasn’t heated to the correct temperature, the culture was not active, or that the temperature was too low during the incubation period. Make sure to heat the milk to 185°F (85°C) and to use a thermometer to monitor the temperature.
Not getting the desired consistency: If your yogurt is not getting the desired consistency, it may be that you have used too much culture or incubated it for too long. It also could be that you used a low-fat milk, which will yield a thinner yogurt than whole milk.
Failure to culture: Sometimes due to poor hygiene, cross-contamination or using expired cultures, the yogurt may fail to culture. To prevent this, make sure to sterilize all equipment before use and use fresh and active cultures.
By troubleshooting these common issues and adjusting your process accordingly, you’ll be well on your way to making delicious and consistent yogurt at home.
Conclusion - How to make yogurt at home
In conclusion, making yogurt at home is a simple and satisfying process that can offer many benefits. It allows you to control the ingredients and the amount of sugar and preservatives that are added to the yogurt, it is often less expensive than store-bought yogurt, and it can be a fun and rewarding kitchen project.
By following the step-by-step instructions provided in this article, you can make your own delicious and nutritious yogurt that can be enjoyed as a healthy breakfast, as a snack, or even as an ingredient in cooking. With variations and flavorings, the possibilities are endless, and you can customize it according to your taste.
Making yogurt at home is a great way to enjoy the benefits of yogurt while experimenting with different flavors, cultures, and textures. So, give it a try and enjoy your homemade yogurt!
FAQs
Here are a few frequently asked questions about making yogurt at home:
Yes, you can use non-dairy milk, such as almond milk or soy milk, to make yogurt. The process is the same as using cow's milk, but the texture and flavor may be slightly different.
Yes, you can use store-bought yogurt as a starter, as long as it contains live active cultures. Avoid using flavored or sweetened yogurt as a starter, as it may contain added ingredients that can affect the final product.
You can thicken your yogurt by straining it through a strainer or cheesecloth for 2-3 hours, which will remove the whey and create a thicker consistency.
Homemade yogurt can be stored in an airtight container in the refrigerator for up to 2 weeks.
Ultra-pasteurized milk will not work well to make yogurt because the high heat used to pasteurize the milk has already killed the bacteria that are needed to culture the yogurt. Try to use pasteurized milk or raw milk instead.
Yes, you can freeze yogurt. But, keep in mind that the texture may change upon thawing.
Yes, you can use any container that can keep the temperature stable, for example, jars, plastic containers, or even a slow cooker set on low temperature.
Yes, you can use any sweetener of your choice, such as agave syrup, stevia, or brown sugar.

